

Painting a damp wall feels like the quick fix. It is not. Damp is a symptom. Paint on top of it hides the evidence for a few weeks, then blisters, stains and peels.
This guide explains how damp is identified, fixed and dried out. It then covers how the wall is readied for proper surface preparation and finishing, so the paint actually lasts.
In short
- Paint does not fix damp; it hides the symptom until the paint fails.
- Condensation, penetrating damp and rising damp each look different, so identify the type first.
- Fix the cause, whether that is gutters, pointing, render or ventilation, and call a surveyor when in doubt.
- Let the wall dry fully, and brush salts off dry rather than washing them back in.
- Once the wall is dry, old water marks are sealed with a stain-blocking primer before painting.
- Anti-damp paints are a last resort, because they can push moisture somewhere else.
Why painting a damp wall does not work
Emulsion needs a dry, sound surface to bond to. On damp plaster it cannot grip properly. The result is blistering, powdery patches and flaking, often within weeks.
Water marks travel, too. Moisture carries brown staining straight through water-based paint, however many coats go on. Mould grows back as well, because the conditions that fed it have not changed.
There is a bigger problem on older houses. A solid wall needs to dry out through its surfaces. Seal the inside face, and moisture has one fewer way out, so it builds up or moves elsewhere.
The three types of damp and how to tell them apart
Most damp falls into three groups. Each looks different and needs a different fix, so the diagnosis matters far more than the paint.
Condensation
Condensation is the most common type in UK homes. Warm, moist air from cooking, showers, drying clothes and breathing meets a cold surface and turns back into water. It shows as black mould spots in corners, behind wardrobes and around window reveals.
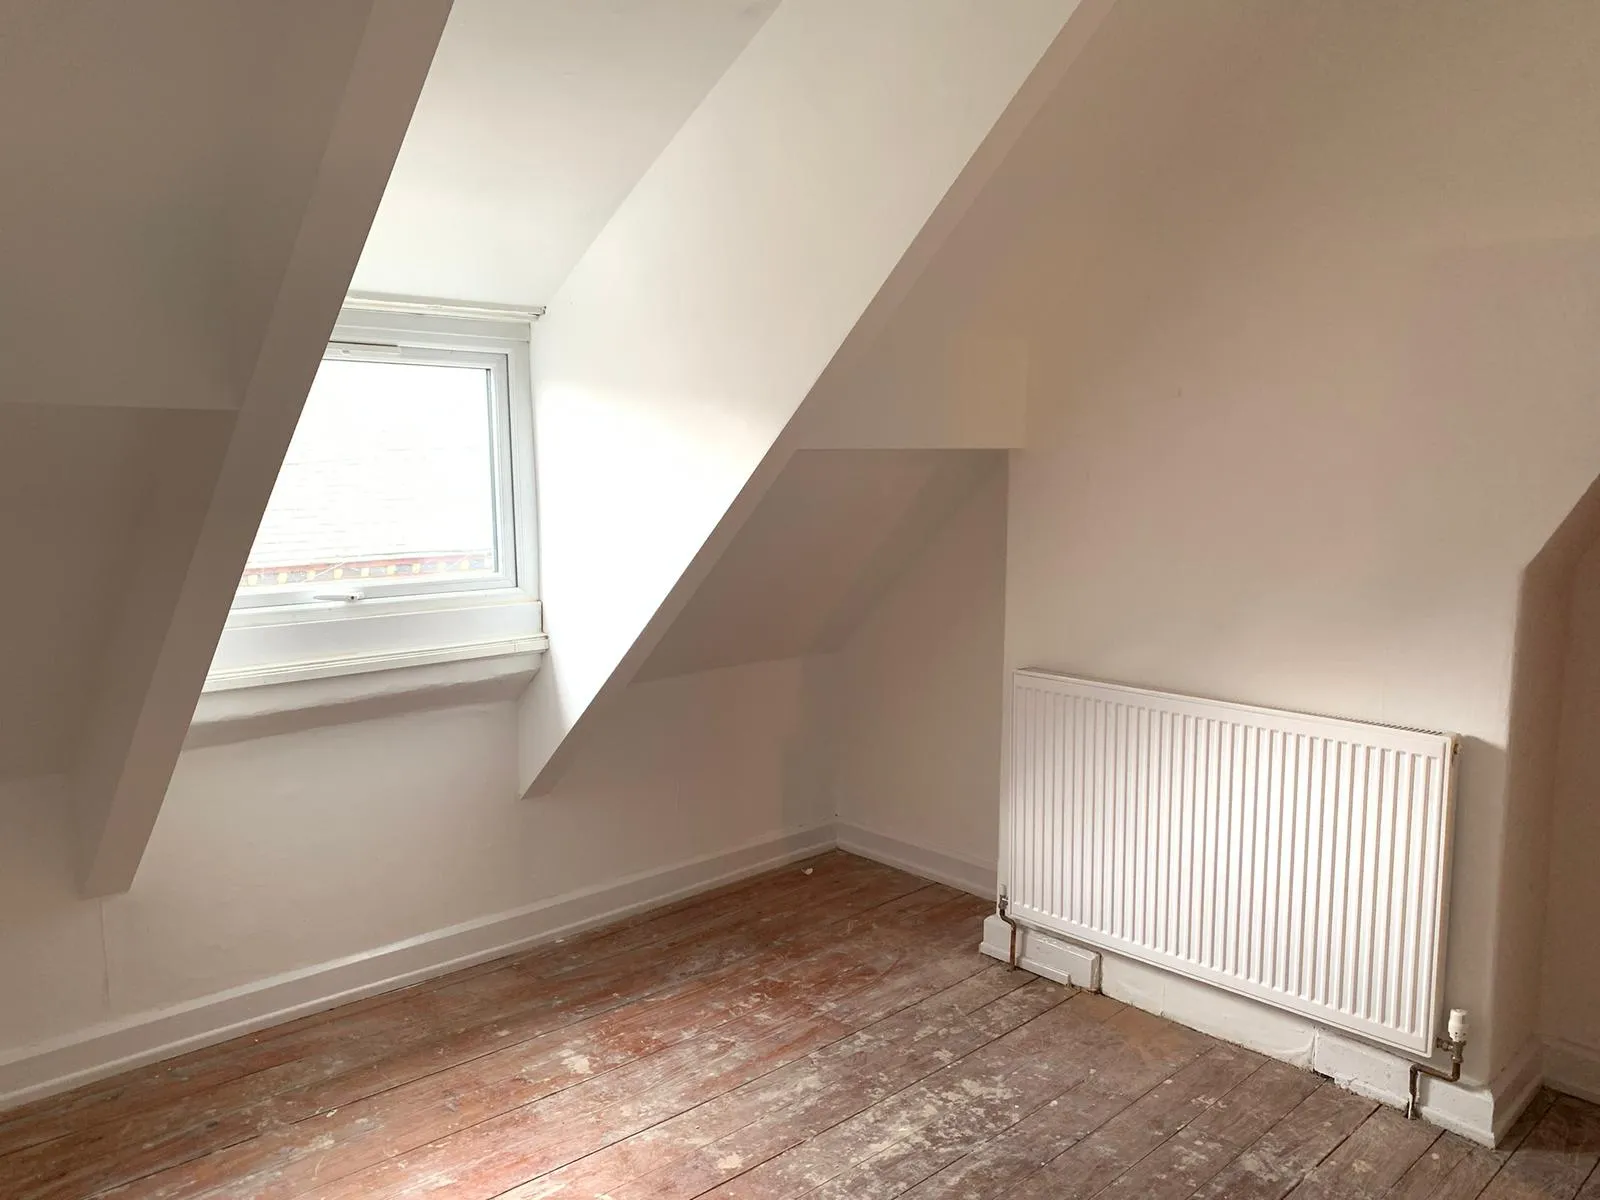
Windows stream in the mornings, and the problem peaks in winter. Attic bedrooms and loft conversions are prime spots, because sloping ceilings are often cold where the insulation is thin. Bathrooms are the other usual suspect, and our guide to painting a bathroom covers ventilation and moisture-resistant finishes in detail.
Penetrating damp
Penetrating damp is water coming through the wall from outside. It shows as a patch, often with a tide-mark edge, that grows or darkens after heavy rain. It can appear at any height, including ceilings and chimney breasts.
Leaking gutters, failed pointing, cracked render and faulty flashing around chimneys and dormers are the usual causes. Walls facing the prevailing westerly weather suffer most. That is a familiar story on exposed hillside homes in Mossley, where wind-driven rain hits hard.
Rising damp
Rising damp is moisture from the ground drawn up through masonry. It leaves a tide mark low on the wall, usually well under a metre high, often with white salts along it. Skirting boards may rot, and paint and wallpaper fail at low level.
True rising damp is less common than many people assume. Low-level damp is often caused by something bridging the damp-proof course, such as soil or a patio built up too high outside. Render taken down to the ground and leaking pipes are other frequent culprits.
Damp types at a glance
| Type | Where it shows | What it looks like | Usual causes | What fixes it |
|---|---|---|---|---|
| Condensation | Corners, window reveals, behind furniture, cold ceilings | Black mould spots, streaming windows, worse in winter | Moist air, poor ventilation, cold surfaces | Extraction, ventilation, steady heating, insulation |
| Penetrating damp | Any height, often exposed walls and chimney breasts | Patches that grow after rain, tide-mark edges | Gutters, pointing, cracked render, flashing, sills | Repairs to the outside, then drying out |
| Rising damp | Low on ground-floor walls | Tide mark with white salts, rotting skirting | Bridged or failed damp-proof course, high ground levels | Surveyor diagnosis, then the specified remedy |
| Plumbing leak | Near pipes, baths, showers and radiators | Damp that does not follow the weather | Leaking joints, seals and overflows | A plumber, then drying out |
Find and fix the cause first
Start outside, ideally during heavy rain, when leaks give themselves away. Check:
- gutters and downpipes for blockages, leaking joints and overflows
- pointing for gaps, cracks and missing mortar
- render for cracks, especially around windows
- sills, and whether water drips clear of the wall
- flashing around chimneys, dormers and extensions
- ground levels against the wall, and any blocked airbricks
Then look inside. Is the extractor fan actually working? Are the trickle vents open? Is washing drying on the radiators, or a wardrobe pushed hard against a cold outside wall?
Solid stone and brick homes need particular care. The stone terraces and mill conversions around Oldham and stone-built homes in Ramsbottom were built to breathe. The wrong repair there, such as hard cement pointing, can make damp worse rather than better.
When to get a surveyor
If the cause is not obvious, get a surveyor before anything else. Choose one who is independent of any company selling a treatment. A RICS-registered building surveyor is a sensible starting point, particularly with suspected rising damp, where misdiagnosis is common.
Once outside repairs are done, rendered or masonry walls may need repainting in a breathable finish. That work sits within our exterior painting service.
Let the wall dry out, and deal with salts
Fixing the cause does not dry the wall overnight. A thick solid wall can take months to dry after a long-standing leak. Steady background heating, good ventilation and a dehumidifier all help.
Moisture testers are a guide, not a verdict. Pin-type testers read salts as moisture, so older walls can show high readings long after they have dried. A pattern of readings over time tells you more than a single number.
As a wall dries, salts come to the surface as white, fluffy deposits known as efflorescence. They are brushed off dry with a stiff brush and vacuumed up. They are never washed off, because water dissolves them and carries them straight back in.
Some salts, particularly from rising damp and old chimney breasts, draw moisture from the air. Plaster loaded with them can stay damp even after the source is fixed. In that case the plaster may need replacing, which is a job for a plasterer. New plaster then needs to dry fully and take a proper mist coat on new plaster before any colour goes on.
Treating mould before you paint
Indoor mould usually points to condensation, although any persistent damp can feed it. It has to be killed, not just covered. Wear gloves, eye protection and a suitable mask, and never dry-brush it, because that spreads the spores.
A fungicidal treatment, such as Zinsser Mould Killer & Remover, is applied and left for the time on the label. The area is then wiped or rinsed as directed and left to dry. Household bleach may whiten the stain, but it is not the right product for porous plaster.
In rooms prone to condensation, a mould-resistant finish such as Zinsser Perma-White helps. However, no paint beats a working extractor fan and an open window.
Stain-blocking primer for old water marks
Once the wall is confirmed dry, old water marks still need attention. Brown, tea-coloured stains will bleed through emulsion however many coats are applied.
So the stains are spot-primed with a stain blocker first. Zinsser B-I-N, a shellac-based primer, dries quickly and is very effective on water marks. Zinsser Cover Stain, an oil-based alternative, works well too. Ventilate the room while using either.
Small areas of loose plaster are cut back and filled before priming, while larger areas go to a plasterer. The whole wall then gets two coats of emulsion, not just the patch, so the colour and sheen are even. That is where our interior painting takes over from the repair work.
Anti-damp paint: a last resort
Anti-damp and damp-seal paints form a moisture-resistant layer on the surface. They can hide a stain, but they do nothing to stop water getting into the wall.
On a solid wall, they also stop the inside face from drying. The moisture then moves sideways or upwards and reappears around the edge of the sealed patch. Meanwhile, the evidence a surveyor would use has been painted over.
Some waterproof coatings do have a role as part of a system specified by a damp specialist. On their own, as a cover-up, they simply move the problem.
Breathable finishes for solid walls
Victorian terraces and Pennine stone cottages usually have solid walls, often with lime plaster. These walls manage moisture by letting it pass through. Vinyl emulsions form a plastic-like film that slows that movement down.
On lime plaster, a breathable finish such as Earthborn Claypaint, or a mineral silicate interior paint, is the better choice. The same thinking applies outside, which is why it matters whether you paint brickwork on an older house, and with what.
Where we draw the line
We will not paint over an active damp patch. The cause is found and fixed first, and the wall is allowed to dry.
That is not us being awkward. Painting a damp wall before it has dried out fails, usually within weeks. You lose the paint, the labour and the evidence, and the damp is still there.
We are painters and decorators, not damp specialists, and we do not offer damp-proofing or plastering. What we will do is tell you honestly what we see, and suggest a surveyor where one is needed. DIY is fine for treating light condensation mould and repainting a dry, sound wall. For anything more, get the cause diagnosed first.
Get a free quote in Manchester
Once the wall is dry and sound, we will prepare it properly and paint it to last. The price depends on the condition and size of the job, so we come and look first. We work throughout the region as house painters in Manchester.
For a free, no-obligation quote, call 07835 733353 or contact us online.
Frequently asked questions
Can you paint over a damp wall?
Not successfully. Paint cannot bond properly to damp plaster, so it blisters, flakes and lets stains bleed through, often within weeks. The damp itself is still there, and on a solid wall sealing the surface can make it worse. Find and fix the cause first, let the wall dry fully, then seal old water marks with a stain-blocking primer before painting.
Does anti-damp paint actually work?
It can hide a stain for a while, but it does not stop water getting into the wall. On older solid walls it can also stop the wall drying from the inside, so moisture moves sideways or upwards and reappears around the edges. Treat it as a last resort, or as part of a system a damp specialist has specified, not as a fix.
How long should a damp wall dry before painting?
There is no fixed time. It depends on how wet the wall was, how thick it is and the weather. A thick solid wall can take months to dry after a long-standing leak. Steady heating, ventilation and a dehumidifier all help. Moisture testers are only a guide, because salts can give high readings, so look for a steady pattern of improvement over time.
How can I tell if damp is condensation or rising damp?
Condensation usually shows as black mould spots in corners, around windows and behind furniture, and it is worse in winter. Rising damp leaves a tide mark low on ground-floor walls, usually well under a metre high, often with white salts. Penetrating damp appears as patches that grow after rain. If the pattern is unclear, an independent surveyor can diagnose it properly.
What primer covers water stains on walls?
Use a proper stain-blocking primer once the wall is completely dry. Shellac-based Zinsser B-I-N dries quickly and is very effective on water marks, and oil-based Zinsser Cover Stain is a good alternative. Spot-prime the stains, ventilate the room, then apply two full coats of emulsion across the whole wall so the colour and sheen stay even.
Should you wash salt deposits off a wall before painting?
No. White, fluffy salt deposits should be brushed off dry with a stiff brush and vacuumed up. Washing dissolves the salts and carries them back into the wall, where they come out again later and push paint off. If salts keep returning, moisture is still getting in, and heavily contaminated plaster may need replacing before the wall is decorated.
